Ready to try standing up while you work? You can get started as soon as today using things you probably have laying around your home or office.
Here’s how to try before buy – and what to avoid.
Step 1: Set up a DIY solution

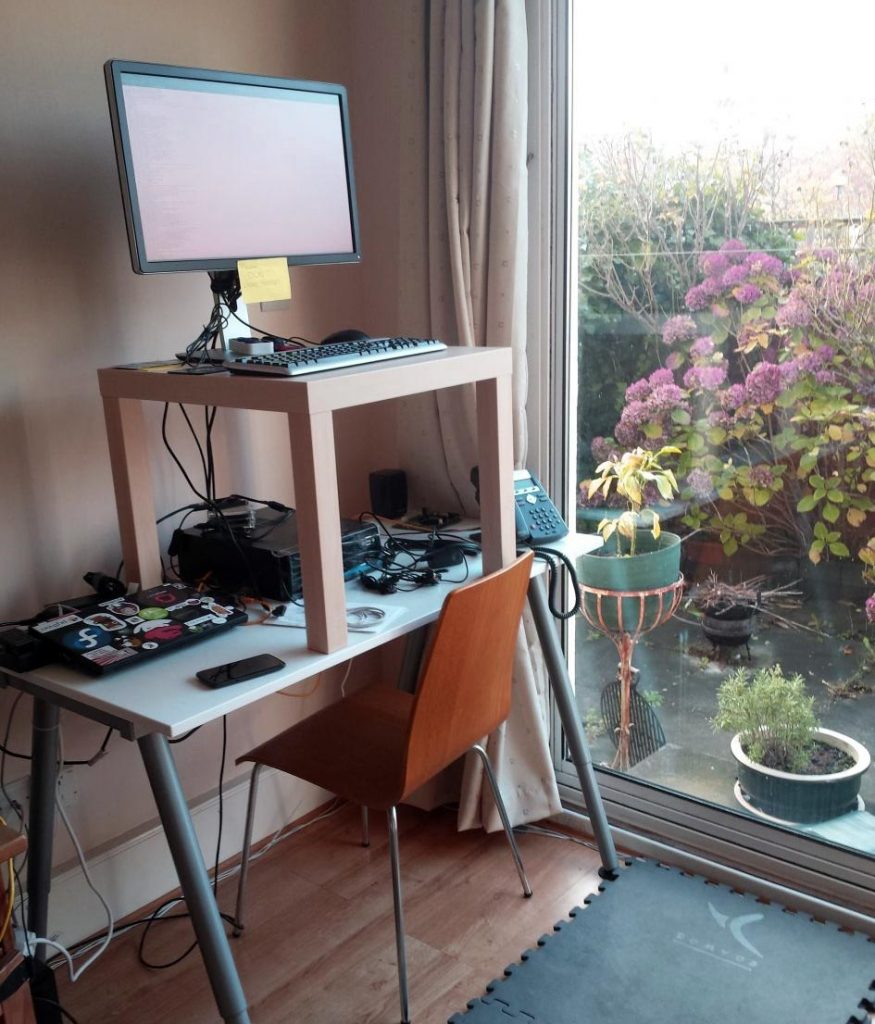
Not sure about a standing desk? Make a little “mock-up” desk out of household stuff and give it a try. This one uses a plastic storage bin and a board to hold the keyboard up in front of an end table.
Here’s the easiest way to get started standing up: grab a bin, a box, some books an end table, or whatever else you’ve got and make your own DIY standing desk.
It’s best if your monitor is higher up than your keyboard – the top of your screen should be roughly eye-height, and your arms should be comfortably bent at an angle slightly wider than 90 degrees when your hands are placed on the keyboard.
It’s probably not what you want long-term, but a “mock-up” standing desk made of end tables, chairs, plastic bins, etc. is an excellent way to “try before you buy”.

Here’s a clever DIY standing desk made from a cardboard box.
You’ll also get a feel for what heights your equipment needs to be at and other considerations (such as now you can see into your neighbor’s cubicle and he’s totally weirded out by it).

This standing desk finds a use for fridge-size soda can boxes. Image credit: howtogeek.com
For even more ideas on how to make a DIY standing desk, check out this article on howtogeek.com.
Step 2: Practice the posture
 Even for a DIY standing desk hack that you don’t intend to use long-term, it’s a good idea to get as close to this ideal posture as you can.
Step 3: Try it out – but don’t overdo it

Wait – you’re still gonna need a chair. Image credit: samueljohnson.com
Don’t get rid of your chair quite yet.
Okay, that’s an exaggeration, but we’ve seen people go right into trying to stand for 8+ hours straight only to end up in pain and give up on the whole standing desk idea.
If you’re in great shape or have an injury that requires you to avoid sitting, by all means, jump right in, but if you usually sit all day your body (and your feet) are probably not used to supporting your weight. In that case, it’s best to ease into it and take breaks often – and consult your doctor first if you have any kind of healing injury, mobility limitation, or other concern.
And here’s the biggest limitation of most DIY standing desks: it might not be easy to go back to sitting. Grab a tall chair if you’ve got one available (even a kitchen stool might be sufficient), or, if you’re using a laptop, see if you can sit somewhere else with your laptop for your rest breaks.
Step 4: If you like it, upgrade to a real standing desk solution!
DIY desks are good for testing but for the best standing desk experience, you should upgrade to a real standing desk or riser – with all the appropriate accessories for maximum ergonomic goodness.

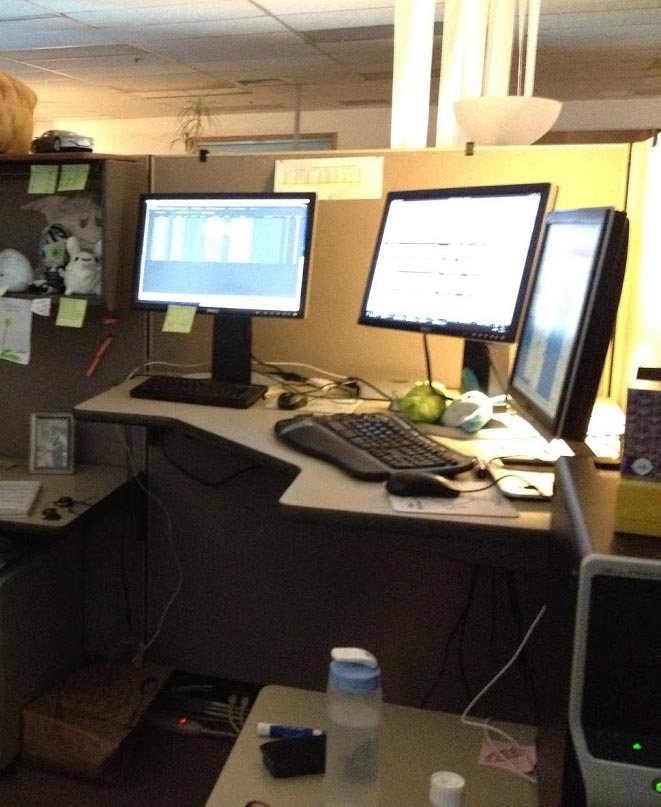
My fixed-height standing desk in a cubicle, circa 2012
Years ago, I worked at an office that would set your cubicle’s desk to standing height if you wanted, but they wouldn’t (or couldn’t) provide a standing height chair. Getting the desk to be standing-height required a facilities support ticket and taking everything off the desk, and putting it back required the same.
Eventually, nearly everyone in that office who tried the standing height went back to sitting height. Most people told me they gave it up because they were tired of having to stand and didn’t want to bring in a tall chair. I would rest by sitting at the sections that were set to a sitting-height, but I always regretted my permanently-standing-height desk any time I was fighting a cold or just plain tired.
Nearly all commercial standing desk solutions come with the ability to easily switch between sitting and standing, which is, in my opinion, the best way to ensure long term success with a standing desk.
When you’re ready to switch to an adjustable standing desk, check out our reviews and recommendations for adjustable height desks and standing desk converters.
